Fra en stålblok til et kunstværk: The Die-Struck Journey
Navnet "die-struck" kommer direkte fra dets fremstillingsproces. At forstå denne rejse afslører, hvorfor disse stifter er så holdbare og i stand til at fange så fine detaljer. Det er et vidnesbyrd om kraften i traditionel metalbearbejdning, raffineret med moderne præcision.
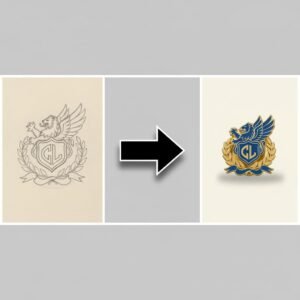
Trin 1: Planen – Den kritiske rolle for vektorkunstværker
Hver stor pin begynder med en perfekt digital plan. For en udstanset stift, hvor detaljen er helt afhængig af kvaliteten af metallinjerne, er et fejlfrit kunstværk essentielt. Fabrikkens maskineri har brug for et sæt præcise instruktioner til at følge, og det er præcis, hvad en vektorfil giver. For en fuldstændig forståelse af, hvorfor denne filtype er så vigtig, bedes du læse vores Enkel vejledning til vektorillustrationer for ikke-designere.
Trin 2: Oprettelse af formen (formen)
Når vektorgrafikken er færdiggjort, føres den ind i en CNC-maskine (Computer Numerical Control). Denne maskine graverer designet præcist ind i en blok af hærdet stål, hvilket skaber en "matrice" eller form med omvendt billede. Den utrolige præcision af dette trin er det, der giver mulighed for at fange fine detaljer i det endelige produkt.
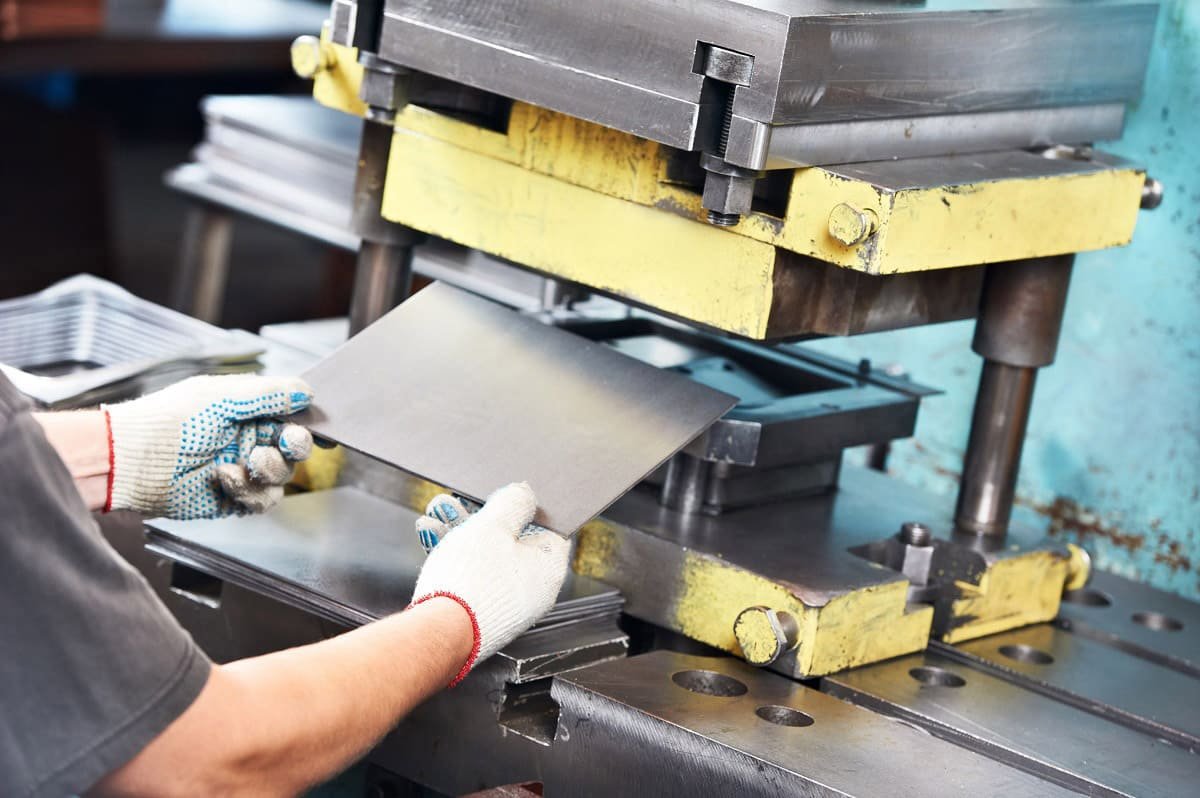
Trin 3: Stemplingsprocessen ("strejken")
Det er her magien sker. En kraftig hydraulisk presse, der påfører et enormt tryk, slår matricen ind i en plade af råt uædle metal (typisk messing, kobber eller jern). Denne handling imponerer designet dybt ind i metallet og skaber de distinkte hævede og forsænkede niveauer, der danner grundlaget for stiftens design. Denne ene, kraftfulde strejke er det, der giver stiften sit navn.
Trin 4: Trimning og efterbehandling
Efter stempling skæres den enkelte stiftform af metalpladen ved hjælp af et trimmeværktøj. Det er også, når eventuelle planlagte udskæringer gennembores gennem metallet. På dette tidspunkt, i stedet for at gå til emaljepåfyldningsafdelingen, som en farvestift ville, går den udstansede stift videre til specialiserede efterbehandlingsstationer. Det er her tekstureringsteknikker som sandblæsning anvendes, et afgørende skridt, vi vil udforske i designafsnittet nedenfor.
Trin 5: Plettering, polering og slutmontering
Til sidst er stiften galvaniseret med sin endelige metalfinish. De hævede områder poleres derefter til en strålende, spejllignende glans, hvilket skaber en smuk kontrast med alle teksturerede forsænkede områder. Det sidste trin er at svejse støttebeslagene på og udføre en streng kvalitetskontrol for at sikre, at hver detalje er perfekt.
En mesterklasse i No-Color Design: Tænkning i tekstur og lys
At designe en udstanset stift kræver et skift i tankegangen. Uden farve er dine primære designværktøjer ikke længere nuance og mætning; i stedet er de det dybde, tekstur og samspillet mellem lys og skygge. Et fantastisk udstanset design er en samtale mellem skinnende og mat, hævet og forsænket. At mestre dette er nøglen til at skabe et virkelig sofistikeret stykke.
Kontrastens kraft: Kombination af finish for maksimal effekt
Dette er hjertet i udstanset design. Ved at kombinere forskellige metalteksturer kan du få dit design til at springe ud og sikre, at hver detalje er læselig og virkningsfuld.
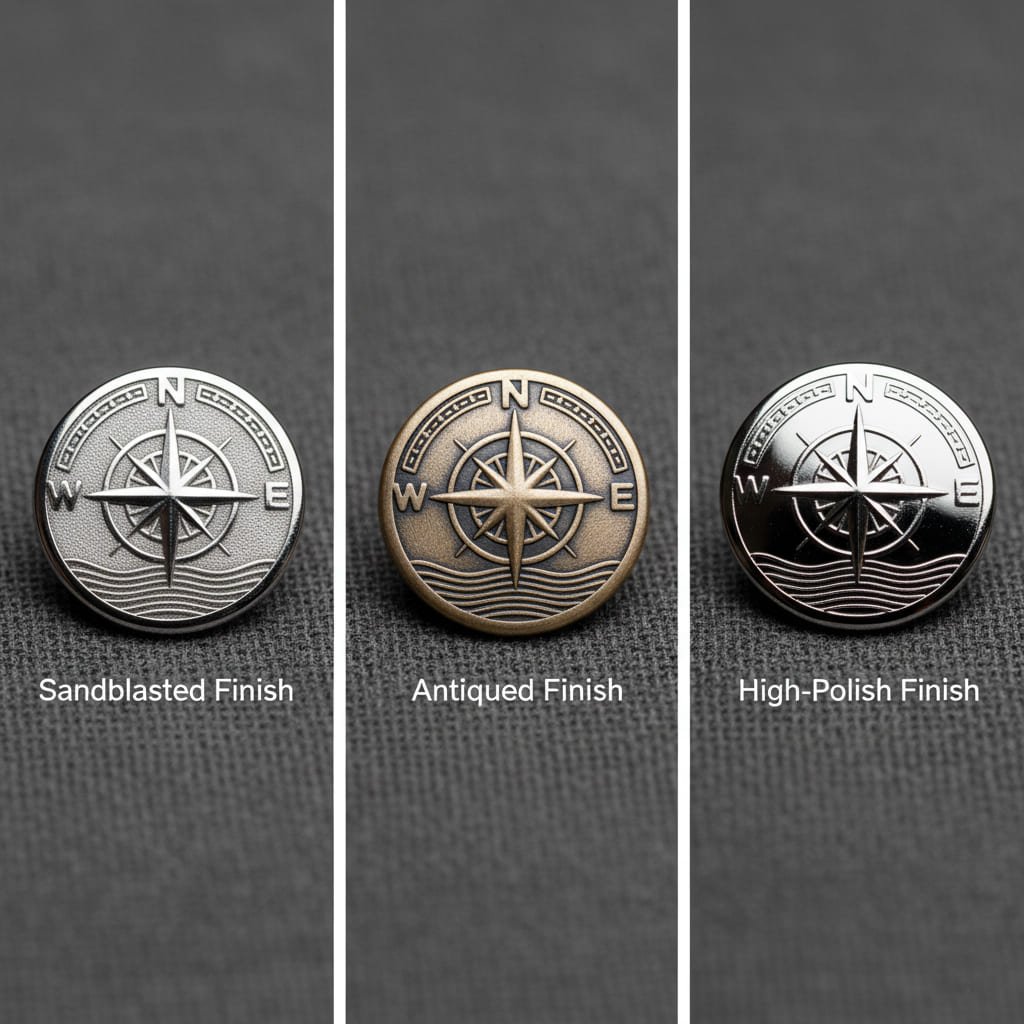
- Sandblæsning: Dette er den mest populære tekstureringsmetode. De forsænkede områder af stiften er blæst med et fint korn, hvilket skaber en kornet, mat finish. Dette står i smuk kontrast til de højpolerede, spejllignende hævede overflader, hvilket giver designet et rent, moderne og yderst læsbart look.
- Antikke finish: En antik belægning (f.eks. antik sølv, antik bronze) er en game-changer for at tilføje dybde. Denne proces påfører en mørk kemisk patina, der sætter sig i de forsænkede områder, hvilket skaber en øjeblikkelig følelse af alder, dimension og karakter. Det er ofte det bedste valg til at gøre fin tekst let læselig.
- Kun højpolsk: For det reneste udtryk af metal bruger nogle designs en høj polering på både de hævede og forsænkede overflader. Dette skaber en strålende, spejllignende effekt, der er bedst egnet til enkle, dristige former, hvor selve formen er i fokus.
- Børstet finish: En mere moderne og subtil mulighed, en børstet finish giver metallet en sofistikeret, satinlignende tekstur med fine parallelle linjer. Dette reducerer blænding og skaber en raffineret elegance.
Tabel med tekstur og finish
Vælg den rigtige finish til din æstetik
| Afslut kombination | Visuel effekt | Bedst til |
|---|---|---|
| High Polish + Sandblæsning | Høj kontrast, skinnende vs. mat. | Moderne firmalogoer, rene designs. |
| Antik plating | Vintage, forvitret, høj detaljesynlighed. | Teksttunge designs, historiske segl, universitetsvåben. |
| Kun højpolsk | Strålende, spejllignende, rent metal. | Enkle, dristige former og symboler. |
| Børstet finish | Sofistikeret, ikke-reflekterende, satin look. | Professionelle priser, minimalistisk æstetik. |
Design med dybde: forskellen mellem 2D og 3D relief
"Relieffet" af en nål refererer til den måde, overfladen er skulptureret på. Dette valg har en betydelig indflydelse på det endelige udseende og omkostninger.
- 2D Relief: Dette er den mest almindelige og omkostningseffektive stil. Den har to hovedniveauer: et enkelt hævet niveau og et enkelt forsænket niveau. Linjerne er rene, og overfladerne er flade, hvilket er perfekt til de fleste logoer og grafiske designs.
- 3D-relief: Dette er en mere kompleks, skulpturel stil. I stedet for kun to flade niveauer har et 3D-design flere niveauer af dybde og glat buede, afrundede overflader, ligesom ansigtet på en mønt. Dette tilføjer en fantastisk, realistisk kvalitet, men kræver en mere kompleks og kostbar form. For flere detaljer om denne proces, se vores guide vedr 3D vs. 2D forme.
Hvornår skal du vælge en die-struck pin?
Med så mange tilgængelige muligheder, hvornår er den klassiske, farvefri stempelstift det rigtige strategiske valg til dit projekt? Denne stil udmærker sig i situationer, hvor budskabet er elegance, varighed og prestige.

- Virksomheds- og brandidentitet: En udstanset stift er metalækvivalenten til et velskræddersyet jakkesæt. Det præsenterer et brand som professionelt, etableret og troværdigt. Det er en erklæring om stille selvtillid, perfekt til industrier, hvor tradition og pålidelighed er nøglen.
- Tjenesteår og medarbejderanerkendelse: Dette er et primært marked for udstansede stifter. De er det bedste valg til servicepriser, fordi deres værdi er iboende i selve metallet. De føles permanente og væsentlige, hvilket gør dem til en passende hyldest til en medarbejders langsigtede engagement. Vores casestudie om medarbejdernes moralpinde fremhæver denne kraftfulde applikation.
- Jubilæer, klubber og broderorganisationer: Når en følelse af historie, tradition og arv er vigtig, er dødsfald vejen at gå. En antik finish på en udstanset nål kan få den til at føles som en elsket artefakt, perfekt til at fejre en milepæl.