Мир брелоков из крокодилов: больше, чем просто аксессуар
Что такое подвески из крокодилов? (И почему их называют Jibbitz™?)
At their core, Croc charms are small, decorative accessories made to fit snugly into the ventilation holes of Crocs footwear. They are the official way to personalize what started as a simple boating shoe. While many people just call them “Croc charms,” their official and widely recognized name is Джиббит™Полем
The story behind this name is as charming as the products themselves. It didn’t begin in a corporate boardroom. Instead, it started in 2005 in the home of Sheri Schmelzer, a mother who decided to beautify her children’s Crocs using simple craft supplies like clay and rhinestones. What began as a fun family activity quickly caught the eye of her husband, Rich, who saw its massive potential. The name “Jibbitz” came from Sheri’s nickname for someone who talks a lot—a perfect fit for an accessory designed for self-expression. This homespun idea blossomed into a brand that was eventually acquired by Crocs, forever linking personalization with the iconic clog.
Рост тренда: почему все индивидуализируют свои крокодилы
Популярность изготовленных на заказ брелоков-крокодилов резко возросла по нескольким ключевым причинам, превратив их из новинки в культурный феномен.
- Холст для самовыражения: Ваши ноги могут рассказать историю. Подвески позволяют вам продемонстрировать свою уникальную индивидуальность, увлечения и чувство юмора. Независимо от того, являетесь ли вы фанатиком спорта, любителем музыки, любителем животных или гурманом, каждый из вас обладает очарованием.
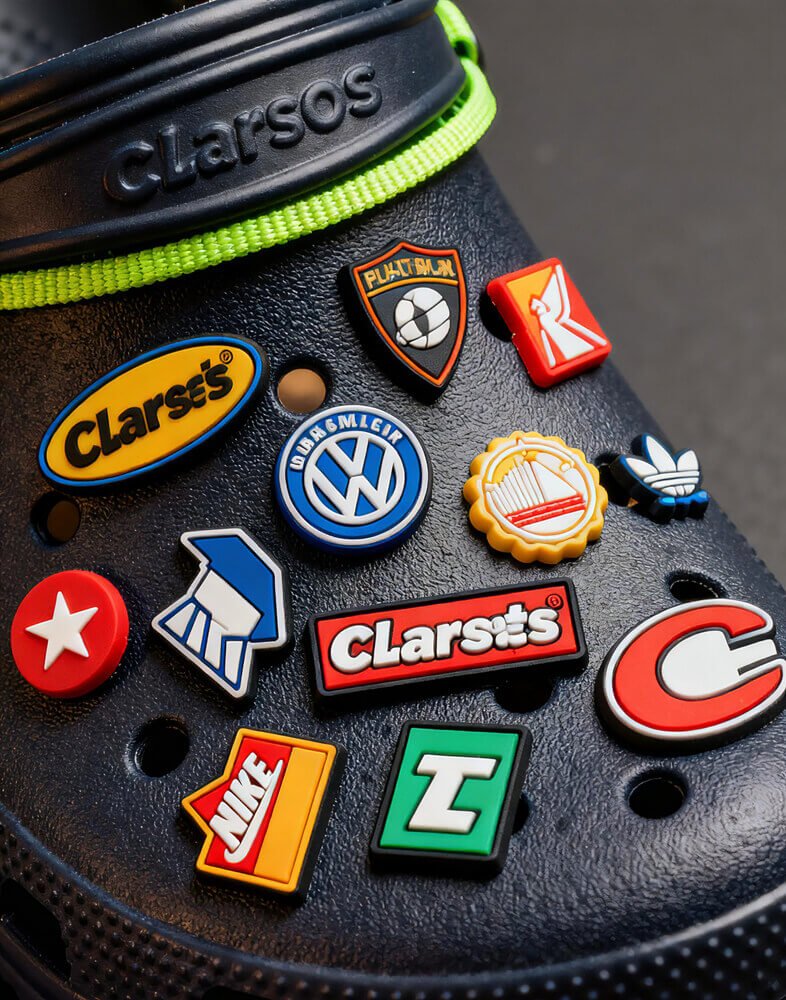
- Универсальность для всех возрастов: Эта тенденция не знает возрастных ограничений. Дети обожают украшать свою обувь яркими мультяшными персонажами и игривыми фигурками, а взрослые используют брелки, чтобы выразить более сложные интересы, поддержать дела или даже продемонстрировать корпоративные логотипы.
- Легко менять и стилизовать: Одной из самых привлекательных сторон является абсолютная гибкость. Вы можете изменить весь свой образ в зависимости от настроения, сезона или особого случая. Собираетесь на девичник? Для этого есть прелести. Праздничное торжество? Вы можете сделать свои Crocs праздничными за считанные секунды. Эта адаптируемость сохранит ваш стиль свежим без необходимости новой пары обуви.
- Идеальный персонализированный подарок: Тщательно подобранный набор брелоков станет продуманным, веселым и доступным подарком. Вы можете адаптировать его к хобби друга, шуткам или важным событиям, создавая по-настоящему личный подарок.
- Поп-культура и влияние социальных сетей: Эту тенденцию поддержали знаменитости, дизайнеры и влиятельные лица на таких платформах, как TikTok и Instagram. Когда люди видят, как их любимые артисты раскачивают персонализированные Crocs, это вдохновляет их присоединиться к творческому веселью.
Часть 2. Создание идеального образа: популярные темы и идеи

Первый шаг к персонализации ваших Crocs — найти тему, которая вам подходит. Благодаря бесконечному разнообразию доступных дизайнов ваши возможности ограничены только вашей фантазией. Вот некоторые из самых популярных тем, которые помогут вам проявить творческий подход.
Покажи свою дикую сторону: животное & Природные чары
Добавьте нотку природы в свою обувь. Обереги с животными и природой — это причудливый способ продемонстрировать свою любовь к большим и маленьким созданиям или к красоте природы. Популярные варианты включают в себя:
- Приятные товарищи: Панды, кошки, собаки и медведи.
- Тропические фавориты: Фламинго, бабочки и слоны.
- Мифический & Доисторический: Единороги и динозавры пользуются огромным успехом, особенно у детей.
- Ботаническая красота: Подсолнухи, ромашки, розы, пальмы и милые суккуленты.
Мечта гурмана: невероятно забавные кулинарные прелести
Пусть ваша обувь отражает ваши кулинарные вкусы! Подвески на тему еды — необычная и популярная категория, которая удовлетворяет любые пристрастия.
- Сладкие угощения: Кексы, пончики и рожки мороженого для сладкоежек.
- Пикантные закуски: Ломтики пиццы, гамбургеры и картофель фри для непринужденной и веселой атмосферы.
- Здоровые фавориты: Авокадо, суши и различные фрукты придают блюду свежий и красочный оттенок.
Сделайте это личным: буквы, цифры и монограммы
Для создания уникального образа ничто не сравнится с буквами и цифрами. Это персонализация в самом прямом смысле. Вы можете использовать их, чтобы:
- Назовите свое имя или инициалы.
- Представляйте свою любимую команду.
- Придумывайте осмысленные слова или забавные фразы.
- Отображение особых дат, таких как дни рождения или юбилеи.
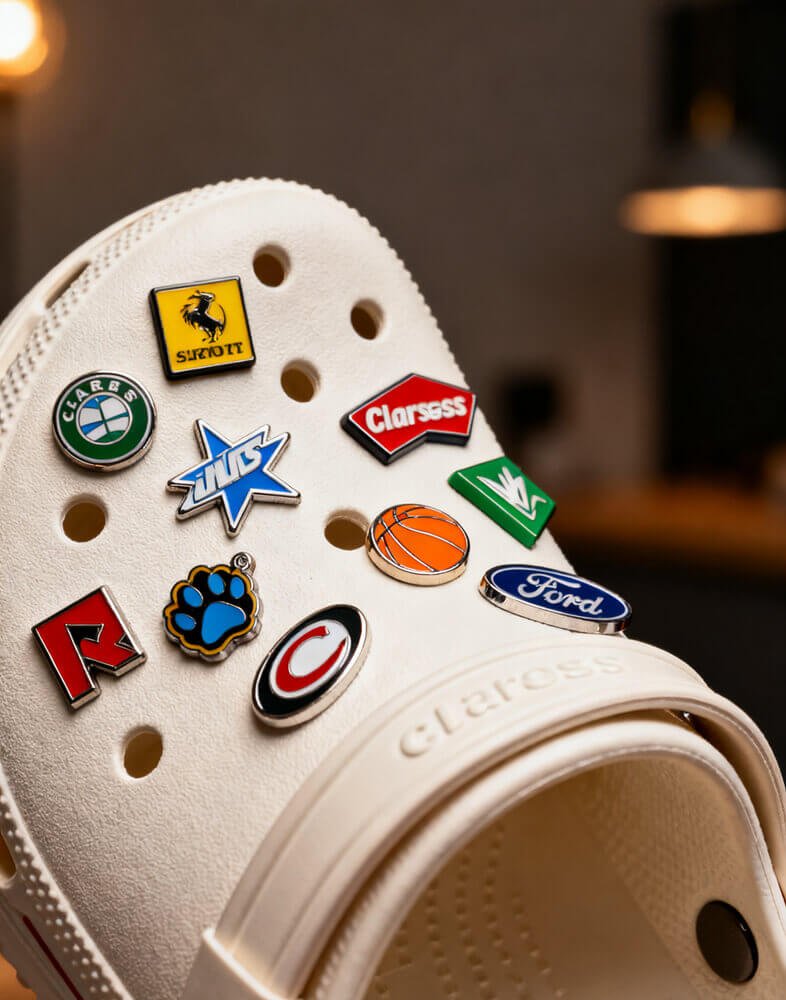
Сила поп-культуры: персонажи мультфильмов, комиксов и фильмов
Продемонстрируйте свой фандом с помощью брелоков с изображением любимых персонажей. Эти дизайны добавляют нотку ностальгии и веселья и являются прекрасным началом разговора.
- Иконки анимации: Персонажи Диснея, такие как Микки Маус или Ариэль, и звезды Санрио, такие как Hello Kitty.
- Герои комиксов: Бэтмен, Человек-паук и Чудо-женщина.
- Избранное телешоу: От классических мультфильмов до современных хитов.
Сезонный стиль: подвески на любой праздник и время года
Сохраняйте свежесть ваших кроксов круглый год, меняя подвески в зависимости от сезона или предстоящих праздников. Это простой и праздничный способ отпраздновать.
- Весна: Цветочные подвески, такие как тюльпаны и ромашки, или пасхальные кролики и яйца.
- Лето: Яркие рисунки, такие как пальмы, фламинго и пляжные мячи.
- Падать: Амулеты теплых тонов, такие как тыквы, листья и жуткие призраки, для Хэллоуина.
- Зима: Праздничные символы, такие как рождественские елки, снежинки, леденцы и Санта-Клаус.
Рассказываем историю: как смешивать и сочетать темы для создания уникального образа
Настоящее волшебство происходит, когда вы объединяете темы, чтобы создать образ, рассказывающий историю. Не бойтесь смешивать и сочетать разные категории, чтобы создать целостный и визуально привлекательный дизайн. Вот несколько идей для начала:
| Комбинация тем | Предлагаемые чары | Итоговый стиль |
|---|---|---|
| Животное + Растение | Бабочка + Подсолнух | Естественная, спокойная атмосфера |
| Еда + Письма | Авокадо + буквы монограммы | Игривый, но персонализированный |
| Мультфильм + Праздник | Персонажи Диснея + Рождественские елки | Необычное праздничное настроение |
| Приключенческая история | Слон + Пальма + Компас | Рассказ о путешествиях и исследованиях |
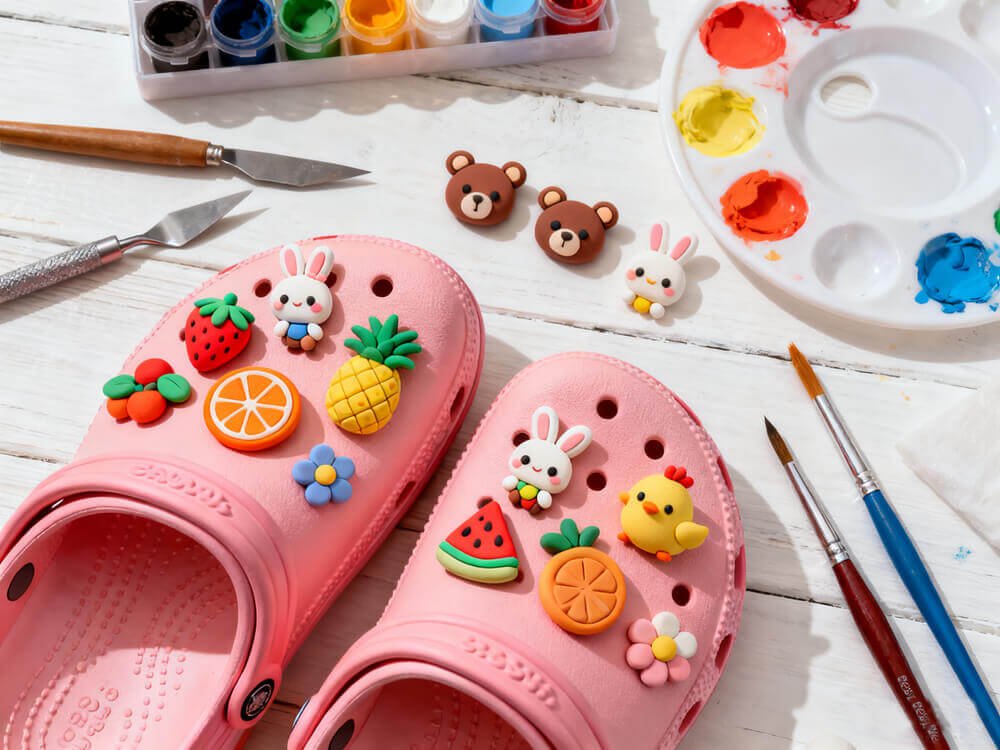
Часть 3: Полное руководство своими руками: как сделать подвески из крокодила своими руками
Для по-настоящему творческих людей ничто не сравнится с удовольствием от изготовления подвесок по индивидуальному заказу. Подход «сделай сам» дает вам полный контроль над дизайном и представляет собой увлекательный и полезный проект. Давайте углубимся в материалы, инструменты и методы, которые вам понадобятся для начала работы.
Выбор своего чемпиона: лучшие материалы для самодельных брелоков
Выбранный вами материал будет определять внешний вид, ощущение и процесс создания вашего шарма. Вот список самых популярных вариантов для любителей DIY.
Для начинающих: Полимерная глина (Sculpey, Fimo)
Полимерная глина, пожалуй, лучшая отправная точка для тех, кто новичок в изготовлении амулетов. Он невероятно универсален и прощает ошибки.
- Почему это здорово: Его легко формовать и лепить вручную, он доступен в широком спектре ярких цветов и запекается до твердого и прочного покрытия в обычной домашней духовке. Он идеально подходит для создания небольших, замысловатых дизайнов с большим количеством деталей.
Для профессиональной отделки: смола (эпоксидная смола). & УФ)
Если вы стремитесь к глянцевому, похожему на стекло внешнему виду, вам подойдет смола. Обеспечивает высокопрофессиональный и долговечный результат.
- Почему это здорово: Смола затвердевает и приобретает твердую, водонепроницаемую форму с красивым блеском. Он идеально подходит для создания подвесок в силиконовых формах и для инкапсуляции небольших предметов, таких как блестки, бусины или даже крошечные картинки. Двухкомпонентная эпоксидная смола отверждается со временем, а УФ-смола затвердевает под воздействием УФ-лампы за считанные минуты.
Для быстрого & Творческое развлечение: термоусадочный пластик Dink
Этот материал привносит нотку волшебства в процесс изготовления и отлично подходит для создания амулетов из рисунков или печатных изображений.
- Почему это здорово: Вы просто рисуете или распечатываете свой дизайн на специальном пластиковом листе, вырезаете его и запекаете. В духовке он сжимается до доли своего первоначального размера, становясь толстым и твердым. Этот метод идеально подходит для детальных плоских дизайнов, таких как персонажи мультфильмов или логотипы.
Ваш набор инструментов для рукоделия: основные инструменты и расходные материалы
Прежде чем начать, соберите подходящие инструменты, которые сделают процесс более плавным и приятным. Вот контрольный список того, что вам понадобится:
- Формирование & Скульптура: Набор инструментов для лепки из глины, формочки из силиконовой смолы различной формы и небольшая скалка.
- Резка & Отделка: Канцелярский нож для точных разрезов, ножницы и мелкозернистая наждачная бумага для сглаживания краев.
- Клеи & Вложения: Пакет с пустыми подложками для подвесок для обуви (также называемыми основаниями для пуговиц или стойками) и прочным водостойким клеем, например суперклеем (хорошо подойдет гелевая формула) или двухкомпонентной эпоксидной смолой.
- Обогрев & Отверждение: Доступ к обычной духовке для глины и термоусадочной плитки, а также к небольшой УФ-лампе, если вы используете УФ-смолу.
- Украшение (по желанию): Акриловые краски, кисти с тонкими кончиками, блестки, бусины, пайетки и прозрачный глянцевый лак или герметик для защиты готовой работы.
Пошаговые методы изготовления
Готовы творить? Вот подробные инструкции по трем самым популярным методам своими руками.
Способ 1: шедевр из полимерной глины
- Подготовьте глину: Начните с разминания полимерной глины в руках, пока она не станет мягкой и податливой. Это значительно облегчает работу.
- Формируйте свой дизайн: Используйте свои руки, инструменты для лепки или даже небольшую форму, чтобы создать желаемую форму. Будь то простое сердце или детально прорисованное животное, именно здесь ваша идея обретает форму.
- Добавить детали: Используйте более тонкие инструменты, такие как игла или канцелярский нож, чтобы добавить текстуру, линии или другие сложные детали.
- Запекать, чтобы вылечить: Готовую глиняную заготовку положите на противень, застеленный пергаментной бумагой. Убедитесь, что задняя часть подвески плоская, чтобы подложка надежно прикрепилась. Выпекайте в соответствии с инструкциями производителя, обычно при температуре около 275°F (135°C) в течение 15–30 минут, в зависимости от толщины.
- Охладить и закончить: После выпечки дайте оберегу полностью остыть. Когда остынет, можно дорисовать дополнительные детали акриловыми красками.
- Запечатайте свой дизайн: Нанесите тонкий слой прозрачного глянцевого лака, чтобы защитить краску и придать вашему шарму профессиональный блеск.
- Прикрепите подложку: С помощью прочного клея, например суперклея, прикрепите пустую подложку подвески для обуви к плоской стороне подвески. Перед использованием плотно прижмите и дайте ему полностью высохнуть, в идеале в течение 24 часов.
Метод 2: создание кристально чистой смолы
- Подготовьте свое рабочее место: Смола может быть грязной, поэтому защитите поверхность. Работайте в хорошо проветриваемом помещении и убедитесь, что силиконовая форма чистая и полностью сухая.
- Смешайте смолу: Если вы используете двухкомпонентную эпоксидную смолу, тщательно отмерьте и смешайте смолу и отвердитель в соответствии с указаниями на упаковке. Медленно перемешайте, чтобы не образовалось слишком много пузырьков воздуха. Если вы используете УФ-смолу, она уже готова к заливке.
- Добавьте цвет или включения: Пришло время смешать смоляные пигменты для цвета или добавить забавные элементы, такие как блестки, бусины или блестки.
- Вылейте в форму: Аккуратно вылейте смолу в форму. Если вы видите, что на поверхность поднимаются пузырьки воздуха, вы можете аккуратно проткнуть их зубочисткой или быстрым движением теплового пистолета.
- Вылечить очарование: Для эпоксидной смолы вам понадобится терпение. Дайте ему застыть в течение рекомендованного времени, которое часто составляет 24–72 часа. Для УФ-смолы поместите форму под УФ-лампу на несколько минут, пока она полностью не затвердеет.
- Разобрать и прикрепить: После полного затвердевания аккуратно извлеките амулет из силиконовой формы. Прикрепите подложку подвески для обуви с помощью небольшого количества суперклея или небольшого количества УФ-смолы для более прочного соединения.
Метод 3: Волшебный дизайн Shrinky Dink
- Создайте свой дизайн: На листе Shrinky Dink нарисуйте свой дизайн перманентными маркерами или цветными карандашами или распечатайте рисунок на специальном листе для печати. Имейте в виду, что ваш дизайн уменьшится примерно до 1/3 от исходного размера и станет намного толще.
- Вырежьте это: Ножницами аккуратно вырежьте рисунок.
- Запекать до усадки: Поместите вырез на противень (поверх пергаментной бумаги) и запекайте в соответствии с инструкциями на упаковке, обычно при температуре около 325°F (163°C) всего несколько минут. За этим интересно наблюдать: он резко скручивается, а затем снова распрямляется.
- Остудить и запечатать: Как только он станет плоским, достаньте его из духовки и дайте ему полностью остыть. Он будет твердым и похожим на пластик. При желании вы можете добавить защитный слой прозрачного герметика, например Mod Podge.
- Прикрепите подложку: Используйте суперклей, чтобы прикрепить подложку для обуви к плоской стороне готового Shrinky Dink.
Безопасность превыше всего: основные меры предосторожности при изготовлении своими руками
Работа должна быть веселой и безопасной. При работе с этими материалами всегда помните о нескольких советах по безопасности, чтобы защитить себя и свое рабочее место.
| Материал | Лучшее для | Плюсы | Минусы |
|---|---|---|---|
| Полимерная глина | Начинающие, сложные скульптурные конструкции | Легко формовать, много цветов, долговечен после выпечки. | Может стать хрупким при падении, требует запекания |
| Смола | Глянцевая отделка, встраивание предметов | Очень прочный, водонепроницаемый, профессиональный вид. | Требуется смешивание, более длительное время отверждения (для эпоксидной смолы) |
| Шринки Динкс | 2D дизайны по рисункам/принтам | Интересный процесс, легкий, сохраняет детали | Ограничено плоским дизайном, размер может быть непредсказуемым |
Ваш набор инструментов для рукоделия: основные инструменты и расходные материалы
Прежде чем начать, соберите подходящие инструменты, которые сделают процесс более плавным и приятным. Вот контрольный список того, что вам понадобится:
- Формирование & Скульптура: Набор инструментов для лепки из глины, формочки из силиконовой смолы различной формы и небольшая скалка.
- Резка & Отделка: Канцелярский нож для точных разрезов, ножницы и мелкозернистая наждачная бумага для сглаживания краев.
- Клеи & Вложения: Пакет с пустыми подложками для подвесок для обуви (также называемыми основаниями для пуговиц или стойками) и прочным водостойким клеем, например суперклеем (хорошо подойдет гелевая формула) или двухкомпонентной эпоксидной смолой.
- Обогрев & Отверждение: Доступ к обычной духовке для глины и термоусадочной плитки, а также к небольшой УФ-лампе, если вы используете УФ-смолу.
- Украшение (по желанию): Акриловые краски, кисти с тонкими кончиками, блестки, бусины, пайетки и прозрачный глянцевый лак или герметик для защиты готовой работы.
Пошаговые методы изготовления
Готовы творить? Вот подробные инструкции по трем самым популярным методам своими руками.
Способ 1: шедевр из полимерной глины
- Подготовьте глину: Начните с разминания полимерной глины в руках, пока она не станет мягкой и податливой. Это значительно облегчает работу.
- Формируйте свой дизайн: Используйте свои руки, инструменты для лепки или даже небольшую форму, чтобы создать желаемую форму. Будь то простое сердце или детально прорисованное животное, именно здесь ваша идея обретает форму.
- Добавить детали: Используйте более тонкие инструменты, такие как игла или канцелярский нож, чтобы добавить текстуру, линии или другие сложные детали.
- Запекать, чтобы вылечить: Готовую глиняную заготовку положите на противень, застеленный пергаментной бумагой. Убедитесь, что задняя часть подвески плоская, чтобы подложка надежно прикрепилась. Выпекайте в соответствии с инструкциями производителя, обычно при температуре около 275°F (135°C) в течение 15–30 минут, в зависимости от толщины.
- Охладить и закончить: После выпечки дайте оберегу полностью остыть. Когда остынет, можно дорисовать дополнительные детали акриловыми красками.
- Запечатайте свой дизайн: Нанесите тонкий слой прозрачного глянцевого лака, чтобы защитить краску и придать вашему шарму профессиональный блеск.
- Прикрепите подложку: С помощью прочного клея, например суперклея, прикрепите пустую подложку подвески для обуви к плоской стороне подвески. Перед использованием плотно прижмите и дайте ему полностью высохнуть, в идеале в течение 24 часов.
Метод 2: создание кристально чистой смолы
- Подготовьте свое рабочее место: Смола может быть грязной, поэтому защитите поверхность. Работайте в хорошо проветриваемом помещении и убедитесь, что силиконовая форма чистая и полностью сухая.
- Смешайте смолу: Если вы используете двухкомпонентную эпоксидную смолу, тщательно отмерьте и смешайте смолу и отвердитель в соответствии с указаниями на упаковке. Медленно перемешайте, чтобы не образовалось слишком много пузырьков воздуха. Если вы используете УФ-смолу, она уже готова к заливке.
- Добавьте цвет или включения: Пришло время смешать смоляные пигменты для цвета или добавить забавные элементы, такие как блестки, бусины или блестки.
- Вылейте в форму: Аккуратно вылейте смолу в форму. Если вы видите, что на поверхность поднимаются пузырьки воздуха, вы можете аккуратно проткнуть их зубочисткой или быстрым движением теплового пистолета.
- Вылечить очарование: Для эпоксидной смолы вам понадобится терпение. Дайте ему застыть в течение рекомендованного времени, которое часто составляет 24–72 часа. Для УФ-смолы поместите форму под УФ-лампу на несколько минут, пока она полностью не затвердеет.
- Разобрать и прикрепить: После полного затвердевания аккуратно извлеките амулет из силиконовой формы. Прикрепите подложку подвески для обуви с помощью небольшого количества суперклея или небольшого количества УФ-смолы для более прочного соединения.
Метод 3: Волшебный дизайн Shrinky Dink
- Создайте свой дизайн: На листе Shrinky Dink нарисуйте свой дизайн перманентными маркерами или цветными карандашами или распечатайте рисунок на специальном листе для печати. Имейте в виду, что ваш дизайн уменьшится примерно до 1/3 от исходного размера и станет намного толще.
- Вырежьте это: Ножницами аккуратно вырежьте рисунок.
- Запекать до усадки: Поместите вырез на противень (поверх пергаментной бумаги) и запекайте в соответствии с инструкциями на упаковке, обычно при температуре около 325°F (163°C) всего несколько минут. За этим интересно наблюдать: он резко скручивается, а затем снова распрямляется.
- Остудить и запечатать: Как только он станет плоским, достаньте его из духовки и дайте ему полностью остыть. Он будет твердым и похожим на пластик. При желании вы можете добавить защитный слой прозрачного герметика, например Mod Podge.
- Прикрепите подложку: Используйте суперклей, чтобы прикрепить подложку для обуви к плоской стороне готового Shrinky Dink.
Безопасность превыше всего: основные меры предосторожности при изготовлении своими руками
Работа должна быть веселой и безопасной. При работе с этими материалами всегда помните о нескольких советах по безопасности, чтобы защитить себя и свое рабочее место.
| Инструмент/Материал | Совет по безопасности | Рекомендуемая защита |
|---|---|---|
| Смола & Глиняные дымы | Обеспечьте надлежащий приток воздуха, открыв окна или используя вентилятор. | Работайте в хорошо проветриваемом помещении. |
| Смола & Клеи | Избегайте прямого контакта с потенциально вредными химическими веществами. | Наденьте одноразовые перчатки (лучше всего нитриловые). |
| Шлифование & Бурение | Не допускайте повреждения глаз и легких мелкой пылью или мелкими частицами. | Наденьте защитные очки и респиратор. |
| Печь & Тепловые пушки | Всегда соблюдайте температурные нормы и избегайте прикосновения к горячим поверхностям. | Используйте прихватки или термостойкие перчатки. |
| Ремесленные ножи | Всегда выполняйте резку от тела на устойчивой, защищенной поверхности. | Используйте коврик для резки. |
Часть 4. Собираем все вместе: крепление, уход и придание стиля вашим подвескам
После того, как вы изготовили или купили свои подвески, начинается удовольствие от создания стиля! Вот как обращаться с вашей коллекцией, ухаживать за ней и организовывать ее, чтобы она выглядела великолепно.
Как безопасно прикреплять и снимать подвески в виде крокодилов
Правильное обращение с подвесками предотвратит повреждение как подвески, так и вашей обуви.
- Чтобы прикрепить брелок: Hold your shoe and squeeze the top into a loose fold. Angle the charm at about 45 degrees and slide one side of the black post into the hole. Push it the rest of the way until you hear a satisfying little “pop.”
- Чтобы снять брелок: Это самая важная часть! Не тяните за подвеску сверху. Вместо этого загляните внутрь обуви и нажмите заднюю часть подвески вверх и наружу. Он выскочит сразу, не нарушая очарования.
Сохранение свежести вашей коллекции: чистка и уход
Чтобы ваши прелести выглядели яркими, необходим небольшой регулярный уход.
- Для пластиковых, смоляных и глиняных подвесок: Просто используйте мягкую ткань с теплой мыльной водой, чтобы аккуратно протереть их. Избегайте абразивных чистящих средств и не замачивайте их на длительное время.
- Для металлических подвесок: Чтобы предотвратить потускнение, протрите их сухой тканью из микрофибры.
- Общий совет: Всегда лучше снять подвески перед глубокой чисткой крокодилов, чтобы защитить их от агрессивных химикатов.
Умные решения для хранения вашей коллекции шармов
По мере того, как ваша коллекция будет расти, поддержание ее порядка облегчит поиск идеальных подвесок для любого случая и предотвратит их потерю или повреждение.
| Метод | Описание | Идеально подходит для |
|---|---|---|
| Чехлы-шармы | Компактные футляры со специальными отделениями для каждого брелока. | Маленькие и средние коллекции, путешествия. |
| Коробки-органайзеры | Коробки с регулируемыми отделениями, например коробки для снастей или ремесленные коробки. | Средние и большие коллекции. |
| Доски дисплея | Прикрепите подвески к пробковой или тканевой доске. | Демонстрация ваших самых уникальных и любимых дизайнов. |
| Тканевые мешочки | Храните брелоки в маркированных мешочках. | Сортировка по теме или сезону. |
Часть 5: Не хотите заниматься своими руками? Где найти уникальные подвески из крокодилов на заказ
Если рукоделие своими руками не для вас, не волнуйтесь! Есть много мест, где можно найти удивительные, высококачественные подвески, готовые к ношению.
- Официальные и лицензионные варианты: The Official Crocs website is the best source for authentic Jibbitz™, including collaborations with major brands and characters.
- Торговые площадки для независимых художников: Websites like Etsy are a treasure trove for unique, handmade, and highly personalized charms. You can find designs here that you won’t see anywhere else.
- Массовые и полностью индивидуальные заказы для групп: Нужны брелки для спортивной команды, корпоративного мероприятия или семейного торжества? Несколько компаний теперь предлагают услуги по созданию полностью индивидуальных брелоков из вашего логотипа, рисунка или фотографии. Это отличный вариант для создания уникальной поделки. Crocs даже запустила корпоративную программу оптовых заказов.
onclusion
Персонализация ваших Crocs — это больше, чем тенденция; это праздник индивидуальности. Мы изучили все: от увлекательной истории Jibbitz™ до подробных руководств по изготовлению собственных амулетов из глины, смолы и многого другого. Теперь у вас есть вдохновение и ноу-хау, чтобы превратить вашу обувь в уникальное отражение ваших страстей и индивидуальности. Истинная ценность заключается в создании чего-то полностью, без извинений. тыПолем
Независимо от того, выберете ли вы практическое удовлетворение проектом «сделай сам» или выберете идеальный готовый дизайн, возможности поистине безграничны. Для тех сложных идей или особых случаев, когда вам нужен идеально реализованный дизайн, не тратя времени на разработку, услуги, специализирующиеся на превращении ваших уникальных концепций в высококачественные индивидуальные подвески, могут стать идеальным партнером. Они помогут воплотить ваше видение в жизнь с профессиональной точностью.
Так что вперед — начните новый ремесленный проект, поищите идеальный шарм в Интернете или создайте индивидуальное изделие, рассказывающее вашу историю. Дайте волю своему творчеству и делайте каждый шаг стильно.
Часто задаваемые вопросы (FAQ)
- 1. Какой материал лучше всего использовать новичку для изготовления брелоков «Крок» своими руками?
- Полимерная глина (например, Sculpey или Fimo) — материал, наиболее удобный для начинающих. Ему легко придавать форму, он не требует сложного смешивания, бывает разных цветов и затвердевает в стандартной домашней духовке.
- 2. Как убедиться, что самодельные подвески долговечны и не сломаются?
- Правильное лечение имеет решающее значение. Полимерную глину запекайте в соответствии с указаниями на упаковке по толщине. Что касается смолы, убедитесь, что она полностью затвердела перед использованием. Нанесение глянцевого лака или герметика также может добавить защитный слой.
- 3. Каким клеем лучше всего прикрепить подложку к подвеске?
- Лучше всего использовать прочный водостойкий клей. Двухкомпонентная эпоксидная смола или клей промышленного назначения отлично подходят для постоянного склеивания. Для более быстрого исправления также можно использовать сильный суперклей (гелевая формула часто лучше всего предотвращает растекание).
- 4. Могу ли я создать амулет из мордочки моего питомца или логотип компании?
- Absolutely! For detailed images, the Shrinky Dink method using a printable sheet is a great option. Alternatively, many online services specialize in creating custom PVC or resin charms directly from a photo or logo you provide.
- 5. Как предотвратить выпадение брелоков из кроксов?
- Ensure the charm “pops” securely into place upon insertion. The backing should be wider than the hole. For very active wearers or children, check that the charm backs are high-quality and not worn down.
- 6. Могу ли я постирать свои кроксы с брелоками?
- Лучше всего снять подвески перед тщательной стиркой кроксов. Хотя большинство подвесок водонепроницаемы, их снятие предотвращает возможное повреждение чистящими средствами и гарантирует, что обувь и подвески можно будет очистить правильно и без риска.
- 7. Подвески Croc предназначены только для классического стиля сабо?
- Нет, подвески Croc разработаны так, чтобы соответствовать вентиляционным отверстиям, которые есть на многих различных моделях Crocs, включая сандалии и шлепанцы, а не только на классических сабо.
- 8. В чем разница между подвесками из ПВХ и подвесками из смолы?
- Подвески из ПВХ, как правило, мягче, более гибкие и имеют резиновый вид, их часто используют для дизайна персонажей массового производства. Подвески из смолы твердые, жесткие и имеют глянцевую, похожую на стекло поверхность, что делает их идеальными для нанесения блесток или придания полированного вида.